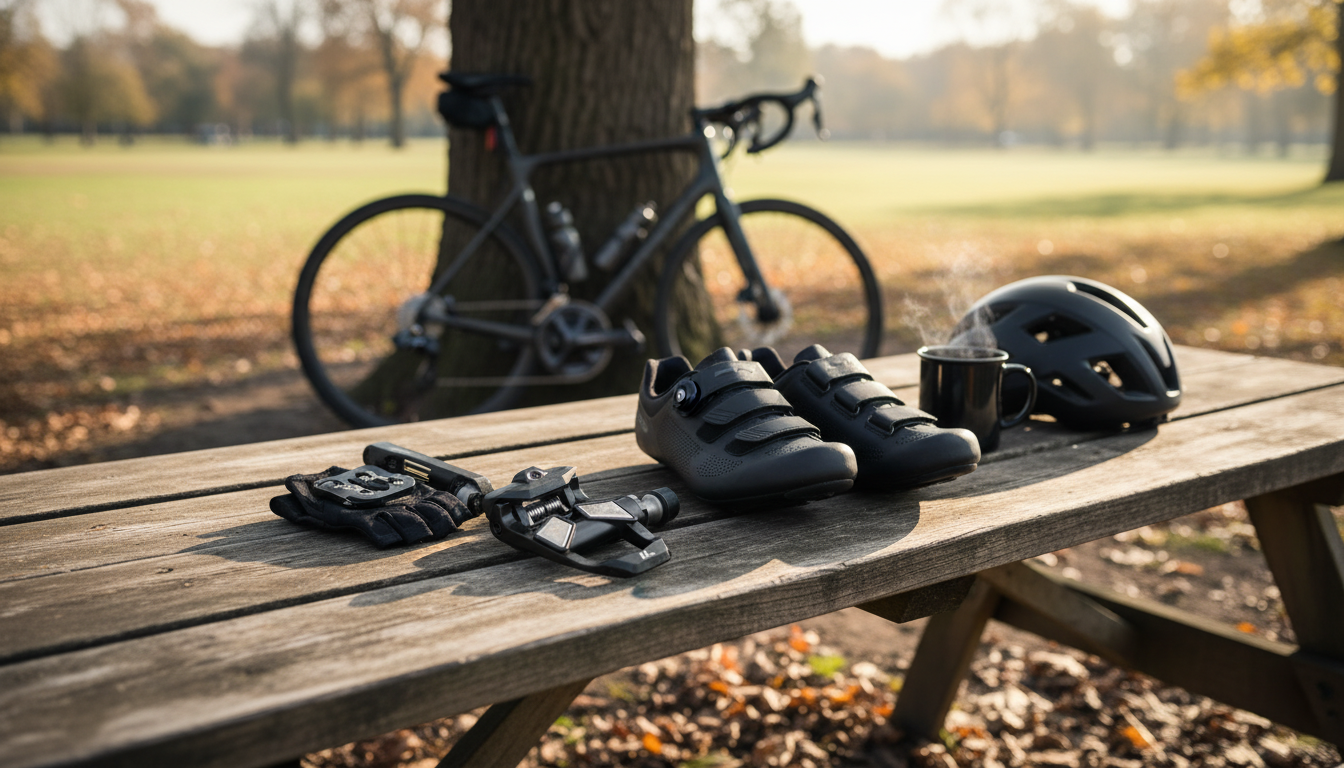
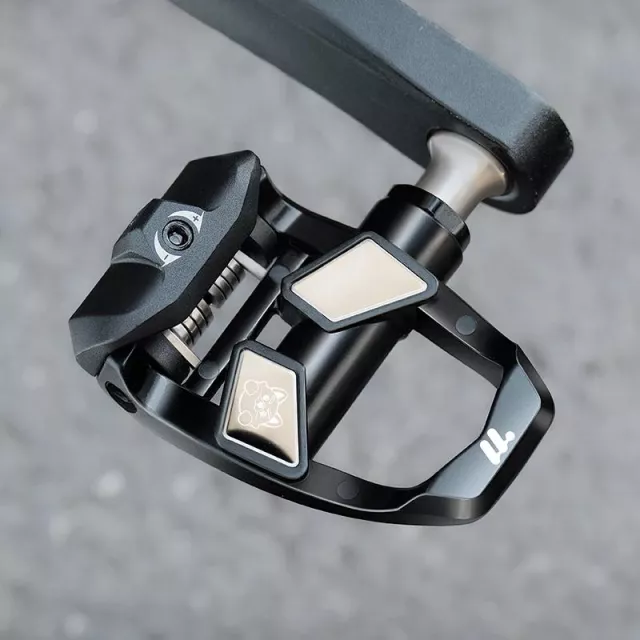
Fast engagement, a stable platform, and low rotational weight can change how a road bike feels on climbs and accelerations. These lightweight, Look-compatible clipless pedals are built for riders who want a secure connection to the bike without adding bulk, while keeping setup and maintenance straightforward. If you’re upgrading from flats or replacing a worn-out road system, choosing a Look-style interface can also make life easier—cleats are common, adjustments are familiar, and the ride feel is confidently “locked in” without feeling restrictive. For more guidance, see Pedal Retention. Love It or Hate It, You Must Have It – IPMBA.
If you’re ready to swap, Lightweight Road Clipless Pedals with Look Compatibility are an easy starting point for a road-focused setup that prioritizes secure engagement and a clean, responsive pedal stroke. For further reading, see The Ultimate Guide To Pedals – eBikes.org.
Road clipless pedals are about repeatability: the same foot position, the same platform support, and the same release behavior, lap after lap. With a Look-style interface, the goal is to create a stable connection that feels natural at high cadence and under heavy load.
“Lightweight” isn’t only about the number on the scale—it’s also about how a bike feels when it responds to surges, accelerations, and short climbs. A lighter pedal can complement a snappy road build, and the right tension and platform can make the system feel secure without being difficult to exit.
| Factor | What to look for | Why it helps |
|---|---|---|
| Release tension range | Adjustable tension you can fine-tune | Safer learning curve and more confidence in sprinting |
| Platform support | Broad contact area under the cleat | Better stability and comfort over long efforts |
| Cleat availability | Standard Look-style cleats | Easy replacements when cleats wear down |
| Bearing smoothness | Consistent spin with minimal play | More predictable pedaling and longer service life |
Most road riders can bolt on Look-style cleats and ride, but comfort comes from getting the details right. A few minutes spent checking shoe compatibility and dialing cleat position can prevent annoying hot spots or knee irritation later.
For a deeper refresher on how clipless systems work and why they feel different from toe clips or flats, Sheldon Brown’s overview is a helpful reference: Sheldon Brown — Clipless Pedals.
A good first ride starts in the garage, not in traffic. The goal is to make entry and exit feel boringly consistent, so you’re thinking about the road, not your feet.
If you’re also installing pedals onto crank arms, follow proper tightening direction and thread care to avoid cross-threading. Park Tool’s guide is a solid step-by-step reference: Park Tool — Pedal Installation and Removal.
Clipless pedals stay crisp when grit and moisture don’t get a chance to build up. The good news: most of what matters is quick, routine attention rather than complicated servicing.
To keep your bike protected between rides—especially if you’re investing in components—secure storage can help reduce corrosion and incidental damage. For garage or backyard organization, the Sturdy 6×4 FT Metal Outdoor Storage Shed for Garden, Bike, and Tools offers dedicated space for a bike and maintenance gear.
Most road shoes use a 3-bolt pattern that works with Look-style cleats. Confirm your shoe has 3-bolt mounting (not only 2-bolt) and follow the cleat brand’s bolt/washer stack and torque guidance.
Start on the lowest or near-lowest setting that still feels secure. Practice clipping out repeatedly in a safe spot, then increase tension gradually once exits are consistent and controlled.
Cleats wear with walking and repeated engagement. Worn cleats can cause vague entry, unexpected float changes, or inconsistent release—replacing cleats often restores the crisp feel.


Leave a comment