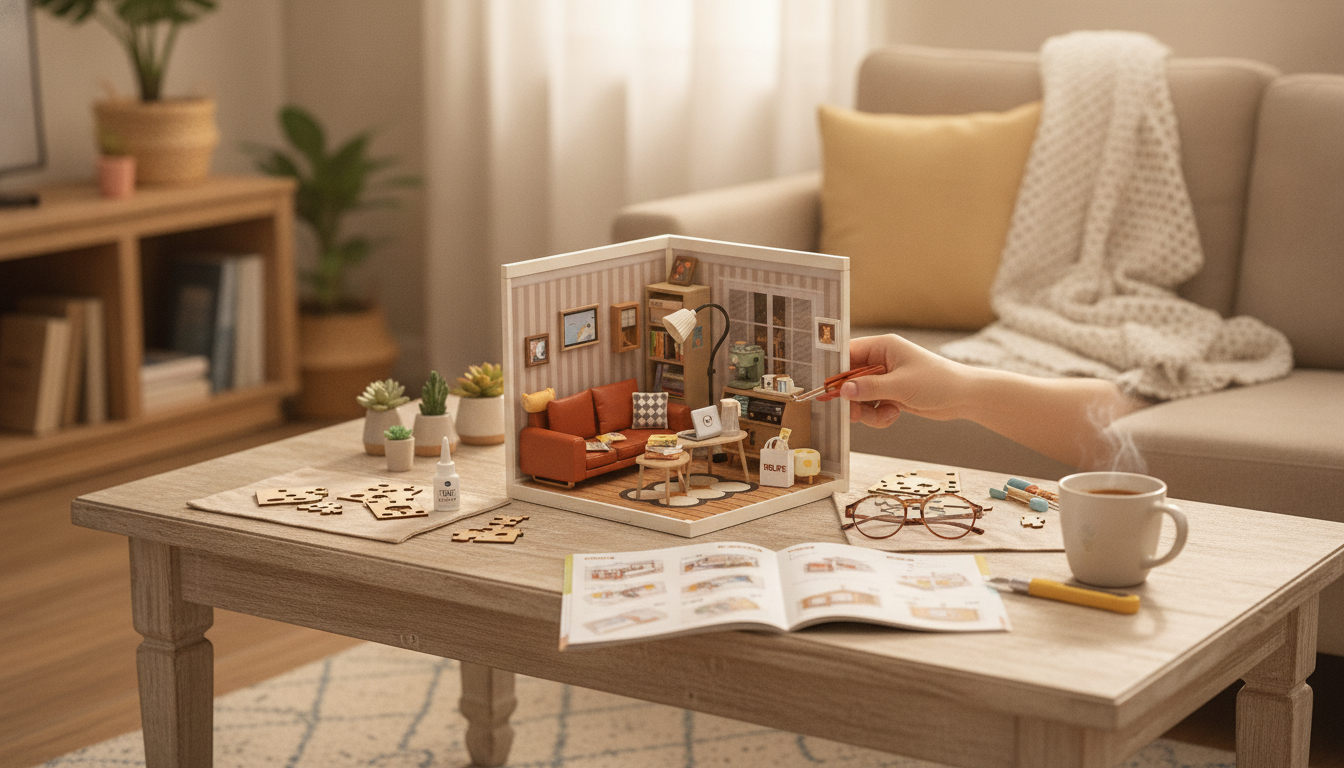
A DIY 3D puzzle miniature house kit combines the satisfaction of model building with the charm of a finished miniature scene. Expect an engaging, step-by-step project that suits quiet solo crafting, family activity time, or a thoughtful gift—ending with a piece that looks great on a shelf, desk, or nightstand.
A DIY 3D puzzle miniature house kit is a multi-part build that assembles into a detailed miniature house scene. Instead of a quick snap-together toy, it’s a paced project: you follow numbered steps, align small pieces carefully, and watch the structure take shape in layers.
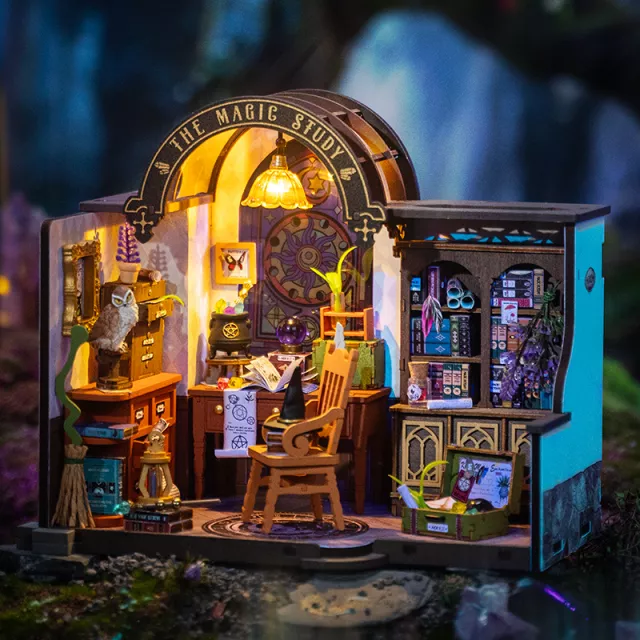
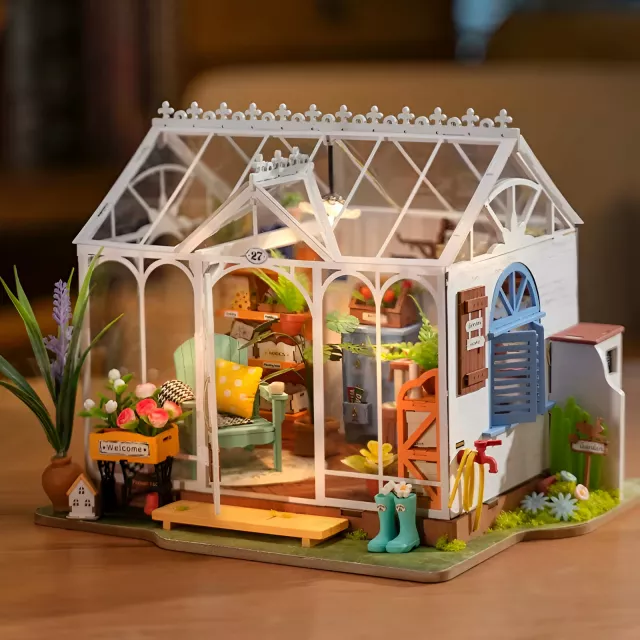
Once complete, the build becomes a display-ready décor piece—something that adds personality to a home office, bedroom shelf, reading nook, or craft corner. The biggest payoff tends to come from patience and attention to detail more than speed, making it a great screen-free activity for relaxation, focus practice, and “one step at a time” momentum.
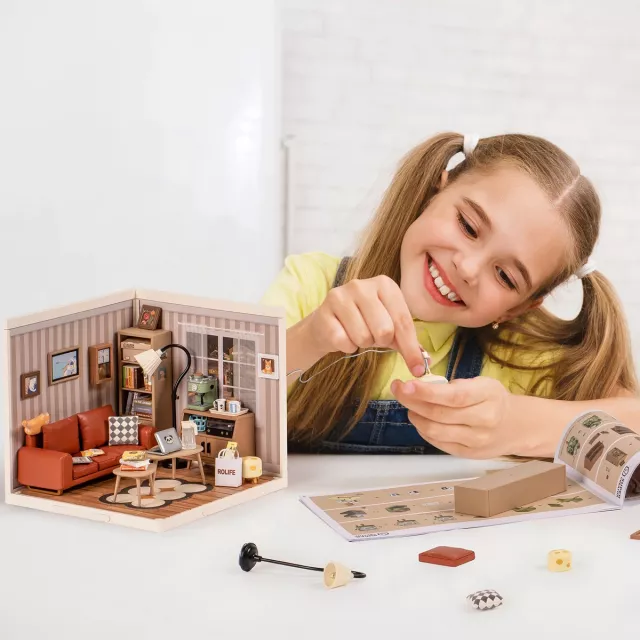
This type of miniature kit fits a wide range of builders:
Because many kits include small parts, it’s smart to review common small-parts guidance before starting a family build. The U.S. Consumer Product Safety Commission has helpful information on toy safety and small-part hazards: CPSC — Toy Safety. For additional choking prevention tips, see: HealthyChildren.org (AAP) — Choking Prevention.
Most 3D puzzle miniature house kits are designed to be approachable, with components that assemble in a set sequence. While exact contents vary, a typical box includes pre-cut or pre-formed pieces that interlock, decorative elements that give the house character (walls, façade details, and tiny furnishings), and an instruction booklet with numbered placement guidance.
To keep the build smooth, it helps to have a few basics within reach—especially if the kit uses very small décor pieces. A bright work lamp reduces strain when aligning parts; for general eye safety considerations when doing close-up tasks, NIOSH provides practical guidance here: NIOSH — Eye Safety and Protection.
| Item | Why it helps |
|---|---|
| Bright desk lamp | Reduces eye strain and makes small parts easier to align |
| Tweezers | Improves placement accuracy for tiny decorative pieces |
| Craft glue (if needed) | Strengthens joints and helps with detail pieces |
| Small containers | Keeps parts sorted so steps don’t stall |
| Soft cloth/brush | Helps remove dust before final display |
A simple way to upgrade your build setup is to use a dedicated container for sorting parts, especially tiny pieces that can roll off the table. A compact option like the Vintage Embossed Glass Storage Jar with Airtight Seal – 23.7 oz can work well for keeping grouped items together between sessions.
Difficulty is usually moderate: the steps are straightforward, but you’ll do plenty of careful alignment. The most enjoyable approach is to build in short sessions—think “complete a sub-assembly” rather than “finish the entire house tonight.”
If you enjoy capturing progress photos (or want to gift the finished piece along with a mini “build story”), keeping a simple shot checklist can make it easy to document each phase without interrupting the flow. The Snap It in Style: iPhone Outfit Photo Checklist – How to Take Outfit Photos with iPhone can be repurposed as a quick reminder for consistent lighting, angles, and before/after shots of your build sessions.
Once your miniature house is complete, a few small habits help it stay display-worthy:
If you’re ready to start a build that ends in décor, the DIY 3D Puzzle Miniature House Kit is a hands-on craft and building activity designed for both gifting and display. It was in stock at the time of publishing; check the product page for current availability, pricing, and shipping details.
It can be suitable for kids who can follow multi-step instructions, but adult supervision is recommended because small parts and tools may be involved. Sorting pieces first and setting clear “tool rules” helps the build stay safe and fun.
Requirements vary by kit, so it’s best to check the instructions. Having tweezers, small scissors or a craft knife, and a way to sort parts is helpful; if glue is needed, use a craft-appropriate adhesive and let it fully dry before moving the model.
Build time depends on your pace and experience, but it’s usually most enjoyable in short sessions over multiple days. A quick parts-sort and dry-fitting pieces before securing them can reduce rework and speed up the process.



Leave a comment